This post will give beginners a full walkthrough to go from nothing to a fully functional linux/python/pandas/scikit-learn environement with jupyter as a front end. For exploratory work, I really like this stack. My native OS is Windows, but since we’re using VMs I would imagine the setup for OS X is very similar and probably won’t need any modification (other than steps for configuring the VM). If you have a solid internet connection, we should be able to get this all done in under 30 minutes startiiiinnnnnng NOW…
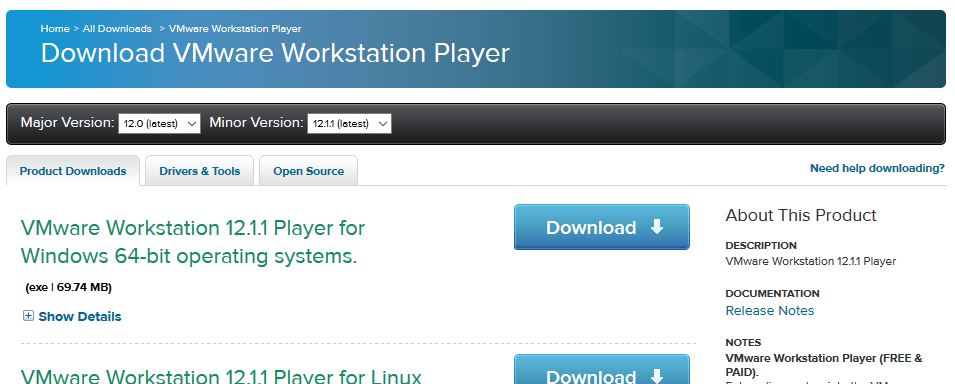
1. Download an Ubuntu Desktop version of your choice. I like 14.04. 16.04 is probably great too.
2. Download VMware Workstation Player if you’re on Windows, or whatever you use for virtual machines if you’re on Mac (VirtualBox is a common option). If you’re on Linux, two thumbs up: you’re totally rad and you don’t need to worry about this step, and you probably know how to do all this already and why are you reading this?
(If you’re on VirtualBox, you’ll need to sort out your own settings for this part. If anyone wants to write a walkthrough for that I’ll be happy to post it here)
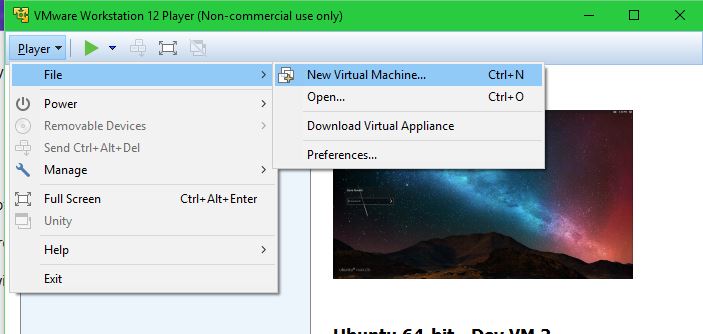
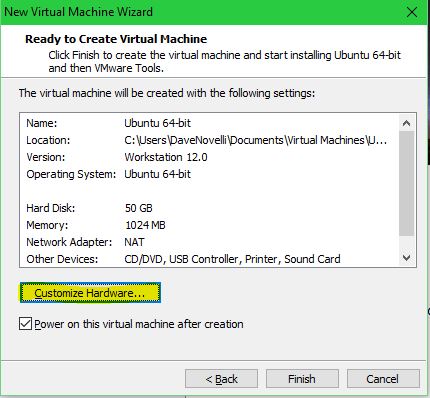
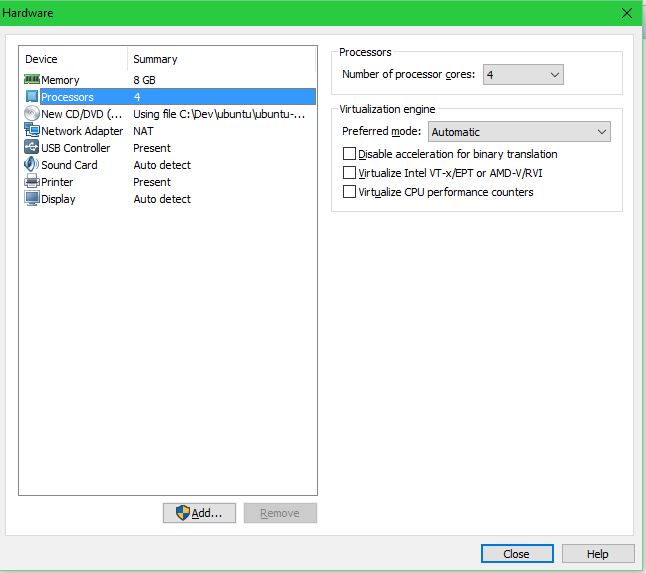
3. Create a new VM from the Ubuntu .iso downloaded in the first step using whatever settings are appropriate for your machine. The following screenshots will walk you through the settings I use, but you’ll likely want to adjust the CPU, RAM, and disk based on whatever machine you’re working on:
Create a new VM:
Select the .iso file:

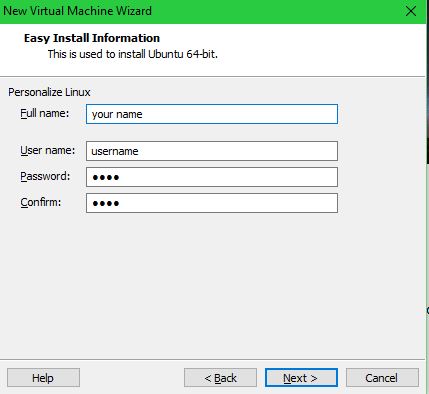
Set your name, username, and password:
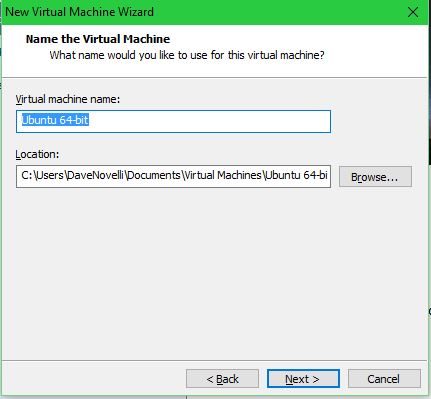
Set the VM name and file location:
Set the disk size and whether or not it’s split into multiple files on the host system:

Customize the hardware settings:
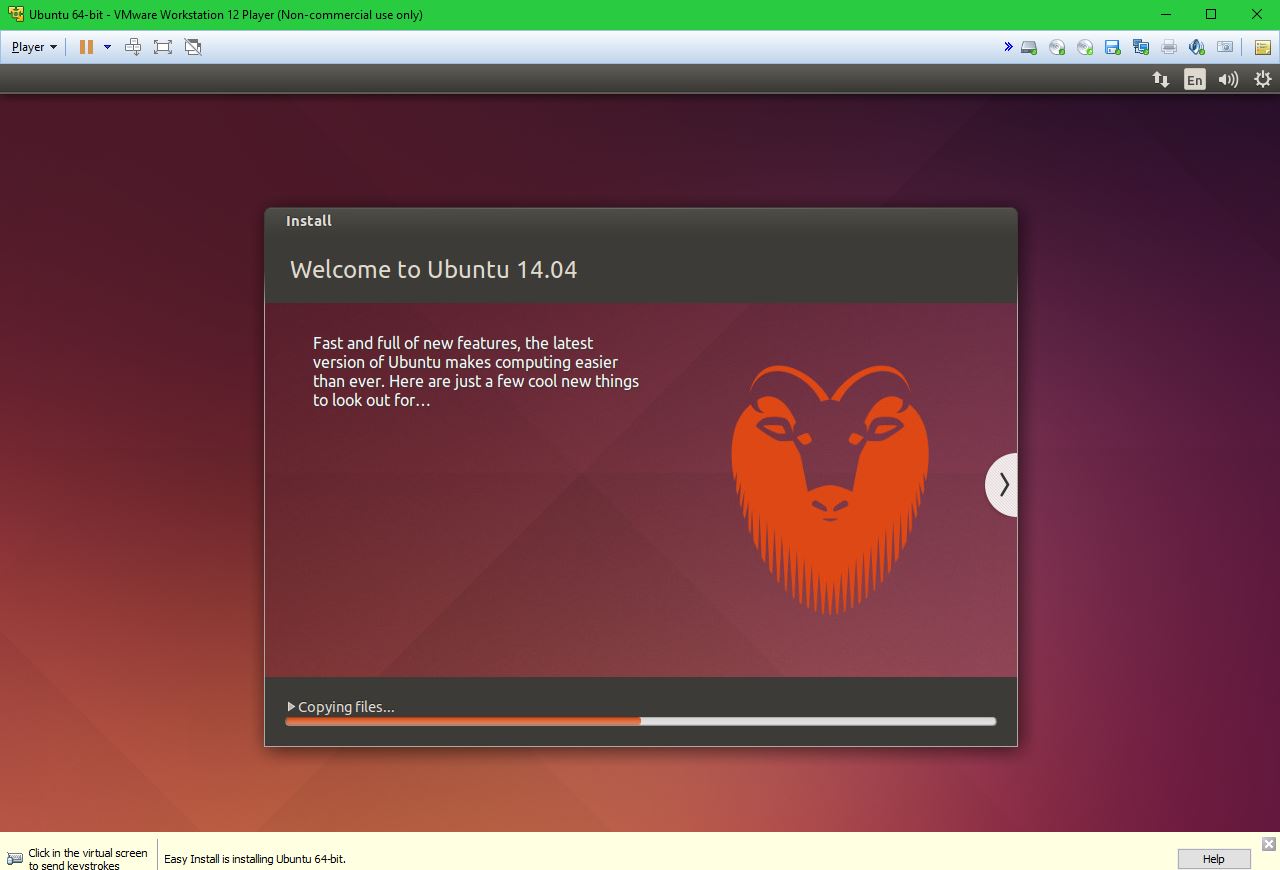
Go through the Ubuntu installation (defaults are fine):
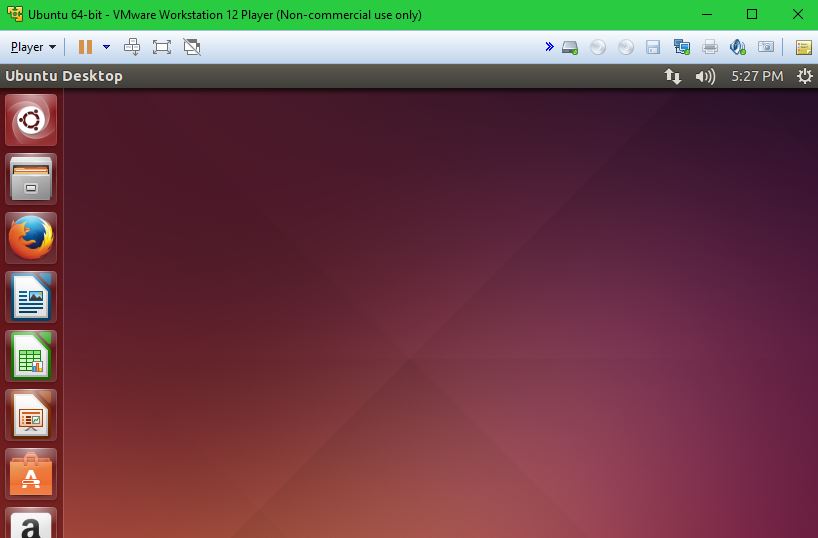
All done, ready to rock…
4. Ubuntu updates and utilities. First, you probably want to install VMWare powertools so that you can cut and paste from host to guest, and adjust the size of the Ubuntu desktop automatically when you resize the VMWare window. Also, right off the bat you’ll see that the Software Updater has a list of updates that can be installed. You can update everything, nothing, or go through them and cherrypick the ones you want.
Note: I always use Python 2, which is installed by default. If you’re dead set on using Python 3 I’m sure this will all work out just fine if you choose that route. If not, and you figure out any necessary deviations please leave a comment!
Ok, at this point you’re hopefully up and running on Ubuntu in a VM, so next we’ll install the environment. This will all be done from the Terminal…
1. Download the anaconda installer, unzip, and install (default values are fine, except that final one concerning prepending the Anaconda install directory to the PATH – choose yes for that)
wget http://repo.continuum.io/archive/Anaconda2-4.0.0-Linux-x86_64.sh
bash Anaconda2-4.0.0-Linux-x86_64.sh
**(For Python 3, use “Anaconda3-4.0.0-Linux-x86_64.sh)
2. Update anaconda
conda update conda
3. Create an environment. Anaconda environments are great. You can have completely different set of packages and versions in each environment so that dependencies of different development projects you work on don’t ever conflict.
conda create --name envname pandas scikit-learn matplotlib jupyter
After the name you assign the environment is a list of packages that you want to have installed. This is the standard list I use, but you can include anything else you’d like.
4. Activate the new environment
conda env list
You’ll see two different environments at this point. The root and the environment you just created. Eventually you’ll likely have lots of them. The asterisk shows which one is currently active. To switch to the new environment we just created, use the source command:
source activate envname
When you’re done with this environment, you can either switch to a different one using the previous command with a different environment name, or alternately you can call
source deactivate
to go back to the root environment.
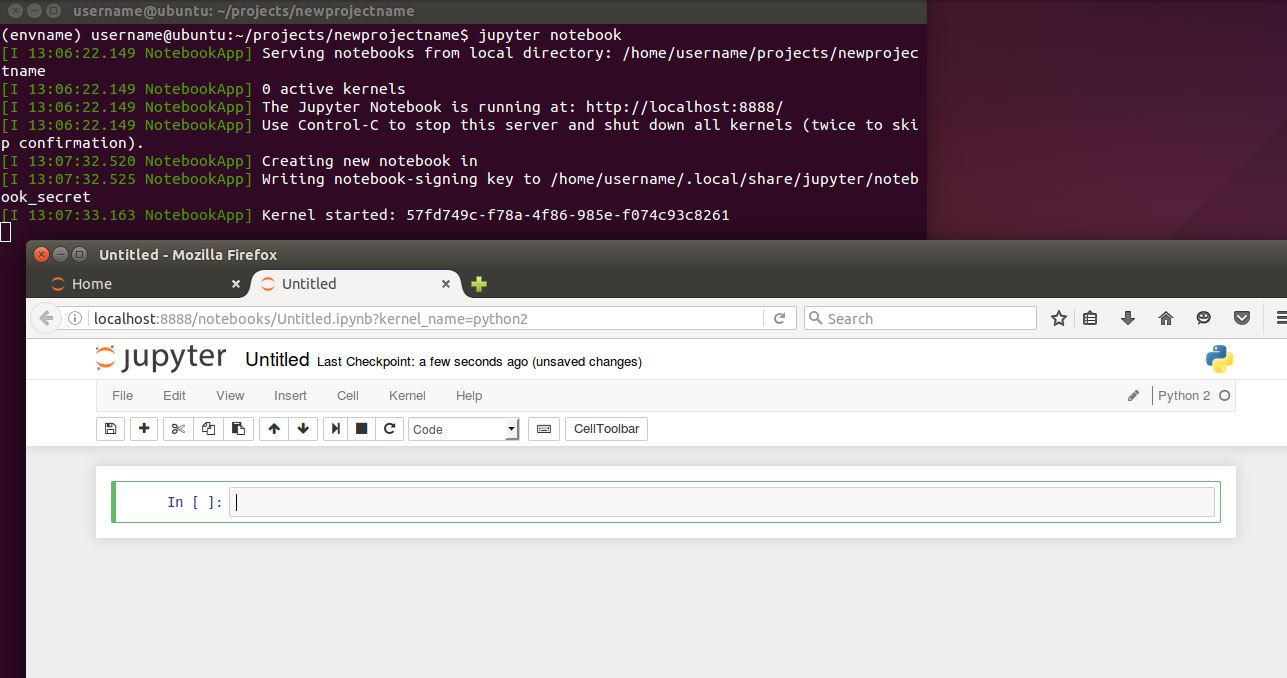
5. You’re ready to rock! Start up Jupyter, create a new notebook, then you’re ready start data science-ing
mkdir ~/projects
mkdir ~/projects/newprojectname
cd ~/projects/newprojectname
jupyter notebook
How fast was that? Any problems? Add a comment and we’ll see if we can patch any holes in these setup steps.